The lower Kokatahi River is somewhat of a hidden gem in the plain sight of packrafters! It falls into that space between a walk-in trip that’s not spicy enough to attract kayakers yet is home to some nice rapids that are readily accessible via a track.
The lower 4 km section makes for a great half-day trip in the grade II+ / III range. Advanced boaters can tack on a more difficult rapid ( III+/ IV range) a few minutes further upstream.
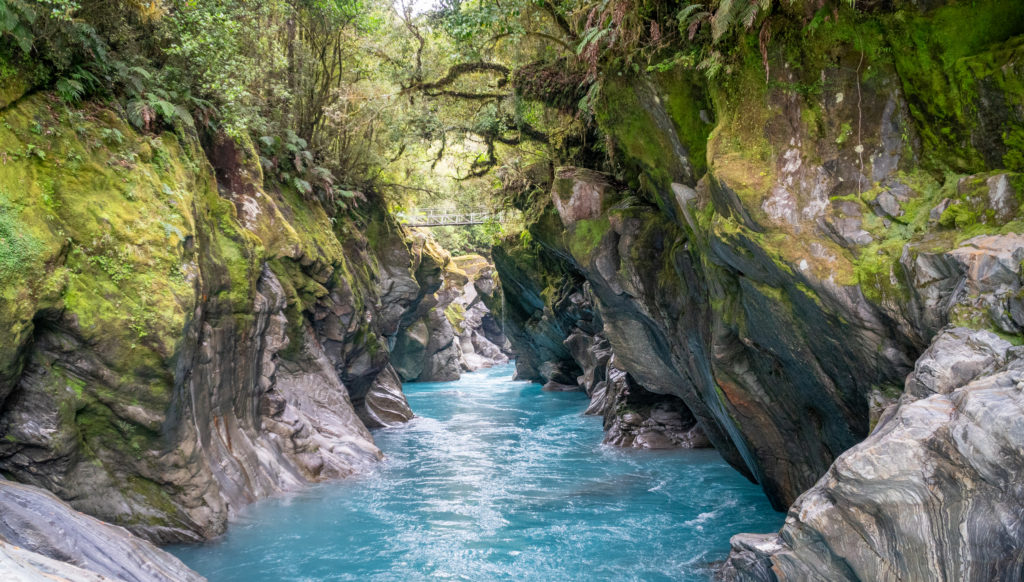
If that wasn’t enough, the scenery includes a glimpse of the amazing Whakarira Gorge from the footbridge a little further upstream. A short detour there is highly recommended for a photo-stop or lunch break before you hit the water!
Thanks to Shane Orchard for the trip info and Photos. Additional pictures from Dan Clearwater
View Larger Topographic Map
Getting to the carpark
As you drive down Middlebranch Rd, remember you’re driving through an operational farm. Drive slowly past the farmhourse, keep an eye out for electric fence wires across the road, do not disturb stock if they are present. The description below begins from the designated parking spot on Middlebranch Road, which is well-marked with a large DOC sign, saying Carpark.
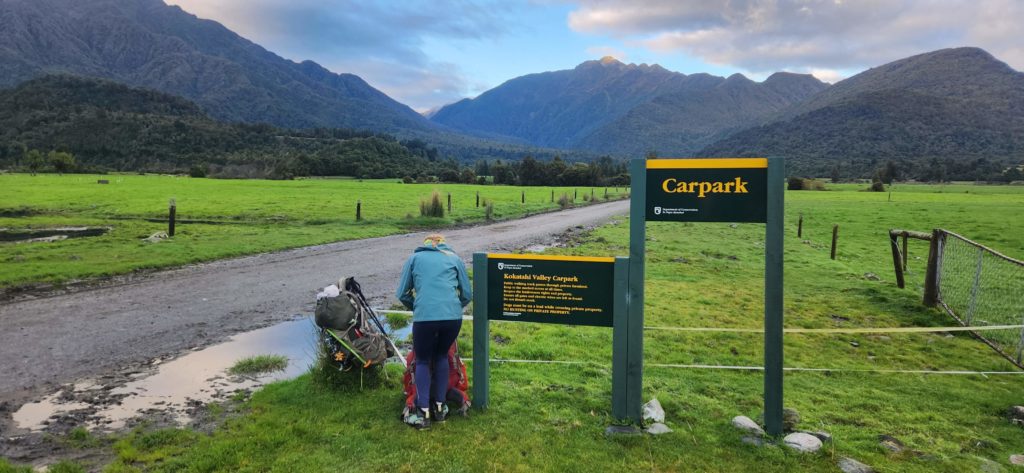
It is a short walk from the bridge take out to the official carpark: please only leave vehicles in the official spot.
Approach on foot
The track begins with DOC triangles on fenceposts through farmland. Once at the river the route upstream is initially along the rocks close to the waterline with short sections of track only where needed. Following sparse marker poles across farmed flats and sections of bush, taking care to stick to the designated route. Expect mud and wet boots here. Roughly 600m east of ‘Prominent Spur’ the route becomes a tramping track near the river.
The rapids are easy to scope as much of the track is in the riverbed or nearby. Around 4km from the carpark, the track arrives at a short section of bedrock gorge with a deep pool. This is the starter gorge. The pool below the starter gorge is the easiest put on for this section.
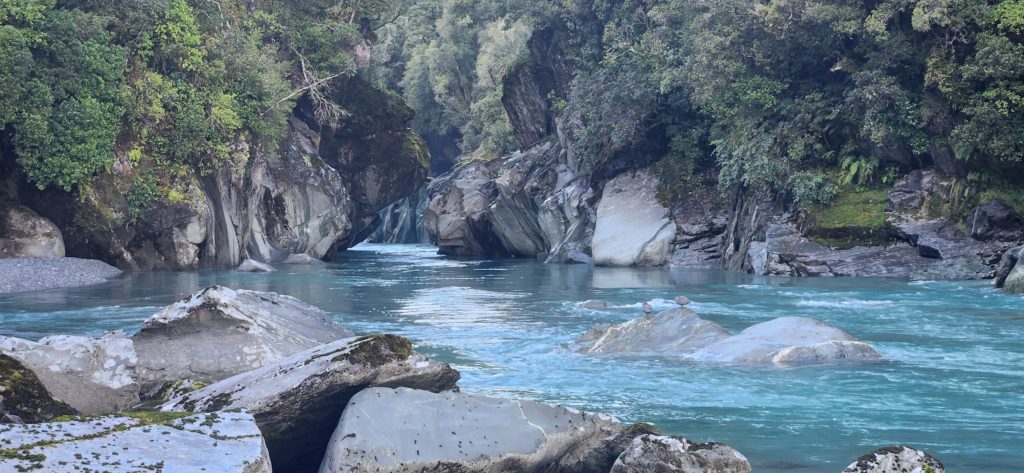
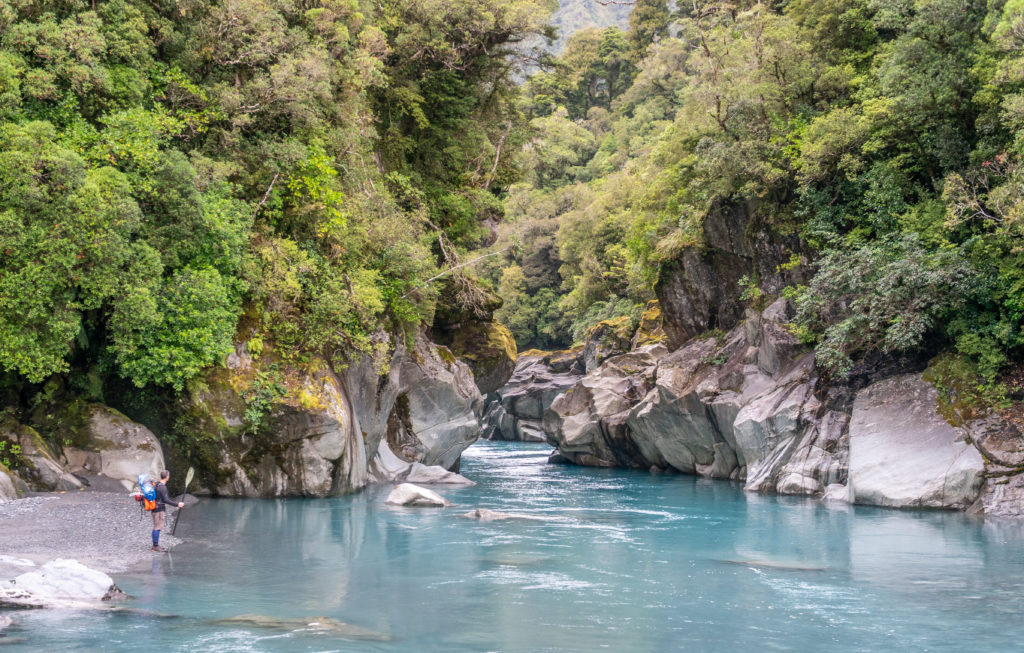
Although this a convenient start point it is well worthwhile continuing up the track, to begin just upstream of the starter gorge, so you can float through it!
The track leaves the starter gorge beach and heads up a small gully on the true right bank here, rising steeply into the bush. The track sidles above the starter gorge and when you cross a tiny tributary, you can find a way down to the big pool just above the starter gorge.
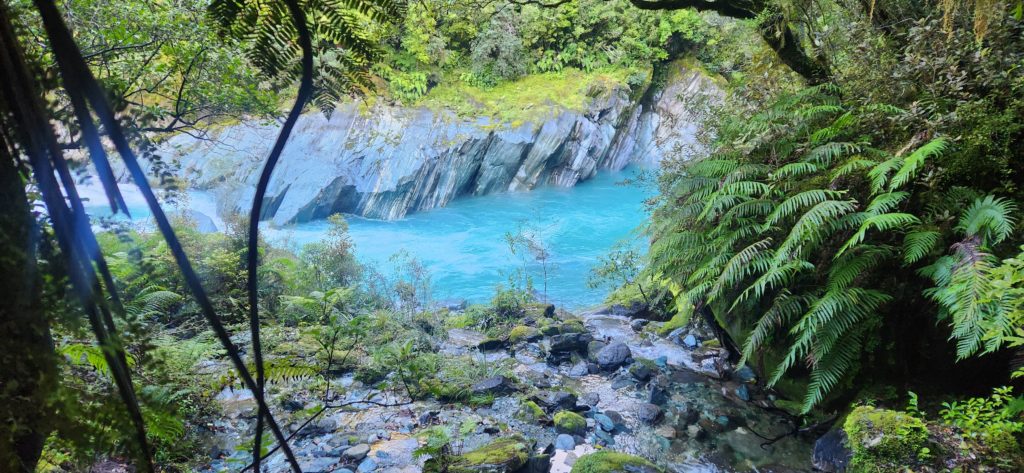

This is a great place to warm up at the foot of the larger grade III+/IV rapid which is immediately upstream.
Lower Kokatahi (II+/III).
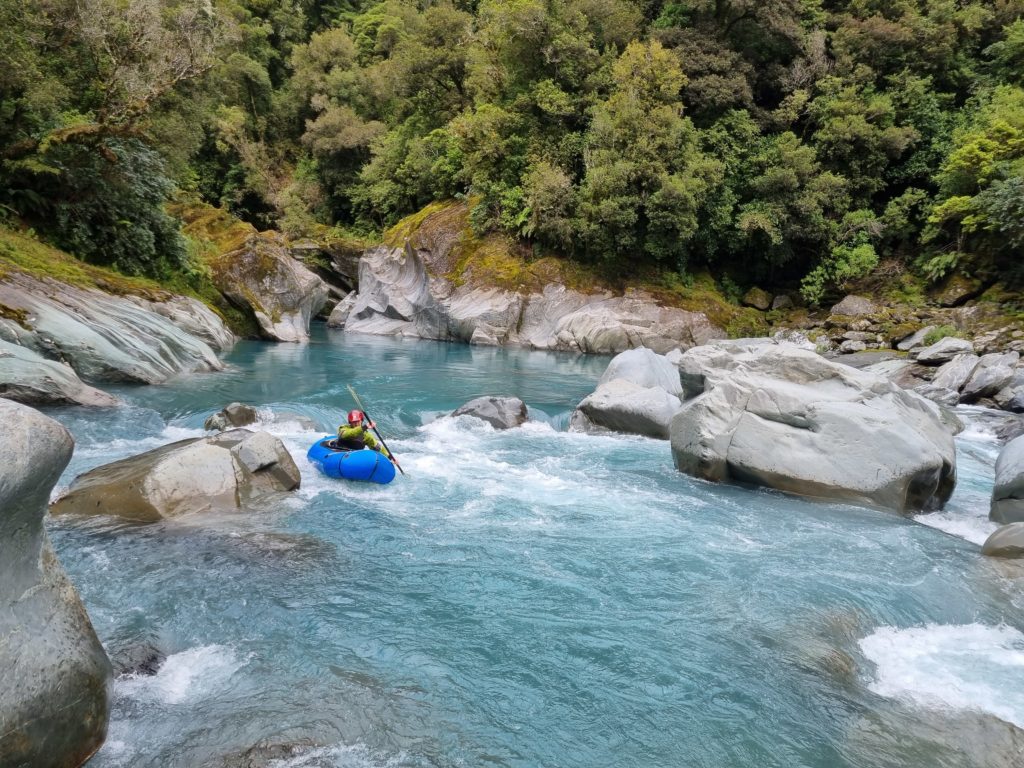
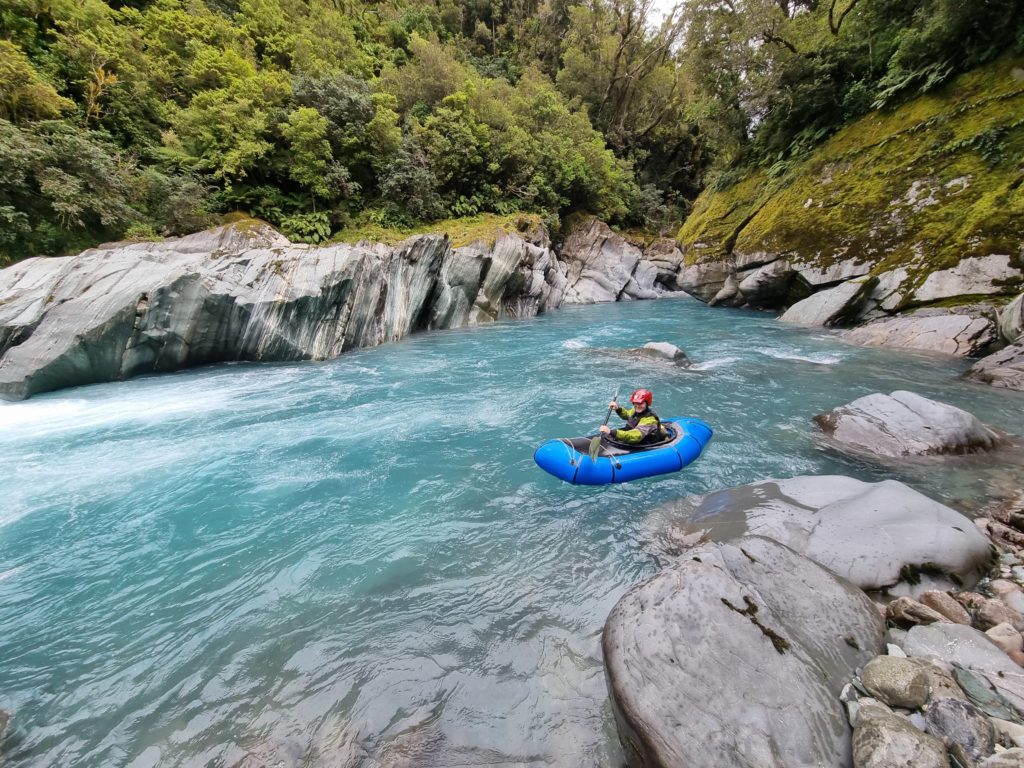
From here the grade II+/III section begins with a float through the very scenic starter gorge featuring overhead bush and deep blue water.
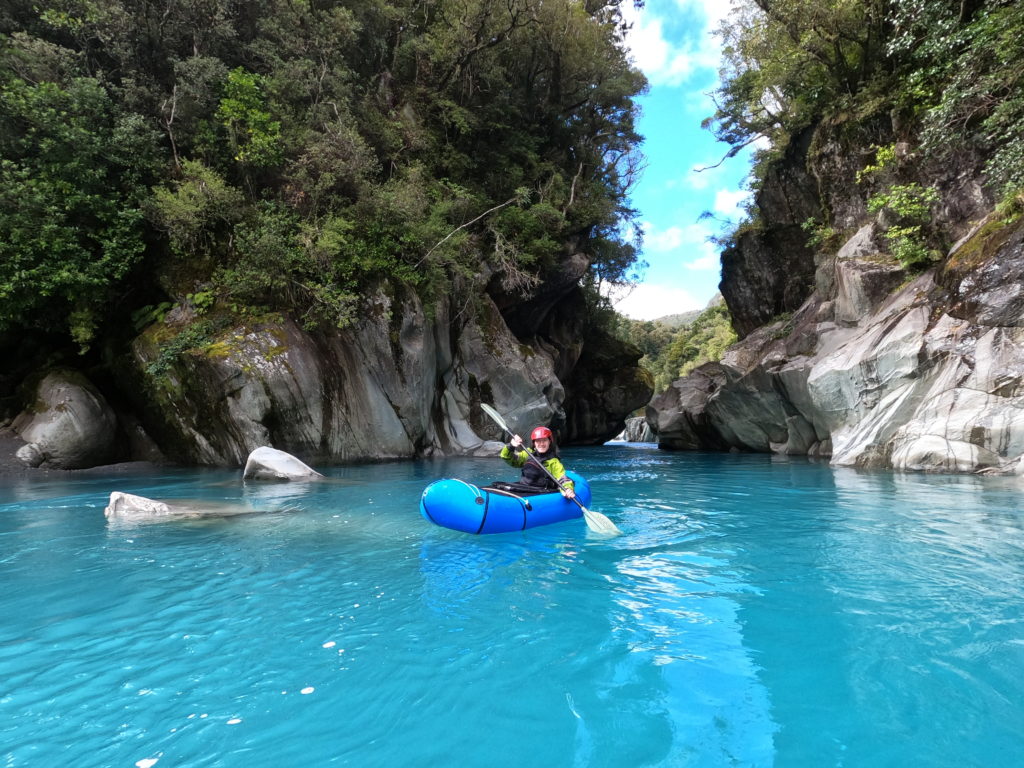
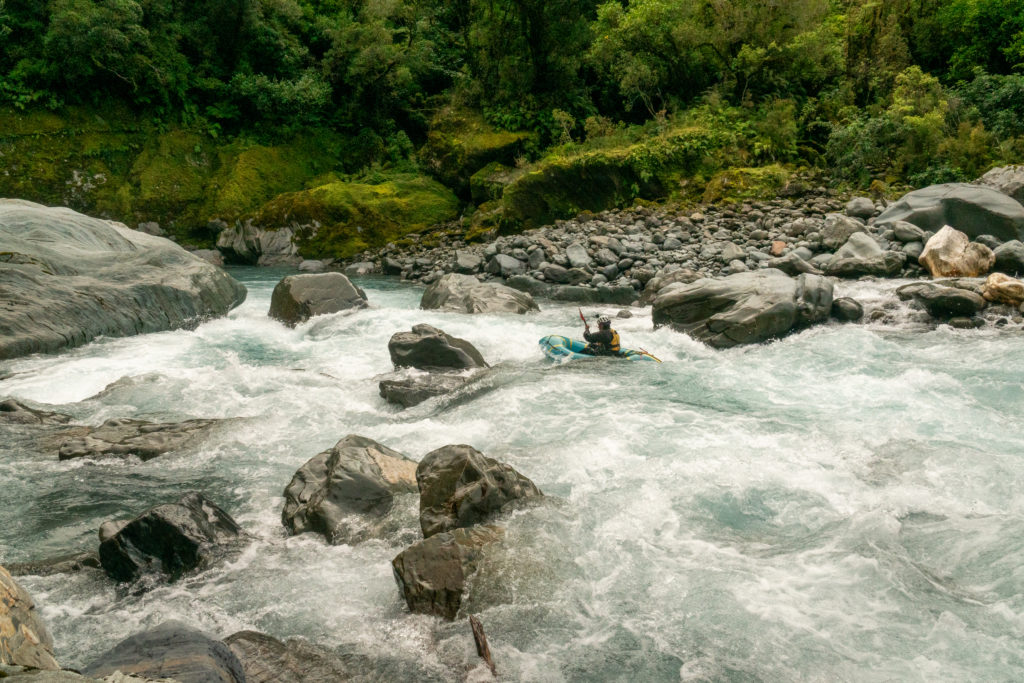
Most of rapids in the remainder of the run are straightforward grade II wave trains with some nice eddies and play spots.
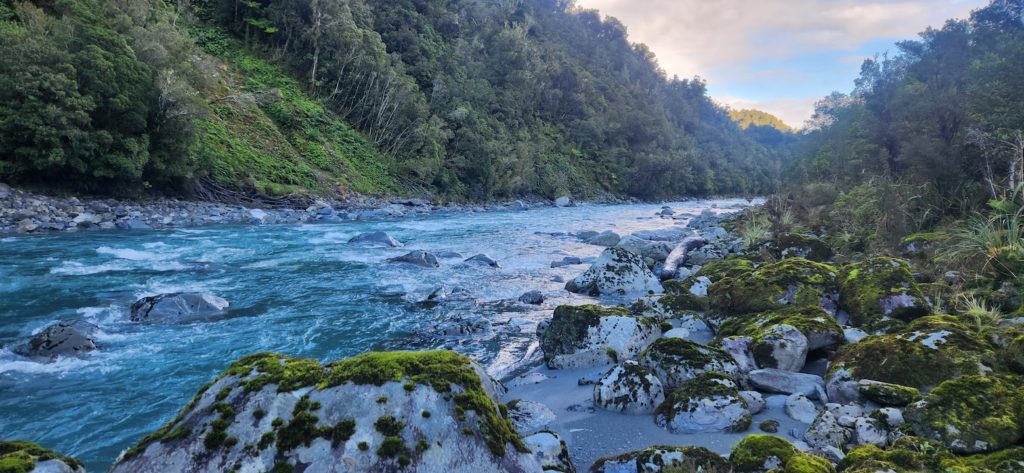
Sprinkled in are a handful of harder rapids including small pour-over features and a few grade III boulder gardens.
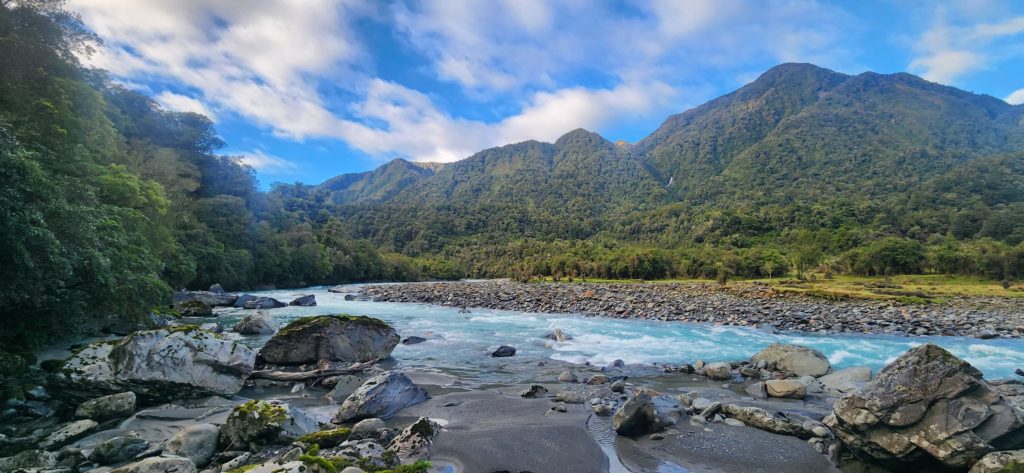
The relatively wide riverbed makes for easy boat or bank scouting of these more complex rapids. Grade II water continues to the take-out at the Middlebranch Road bridge.
For the extra IV rapid
From the track above the starter gorge, continue a further 5 mins upstream, nearly to the footbridge. Drop off the track near a small stream that opens into a larger open rock gully leading to the river. Beware of the very slippery boulders. Skirting through the bush on the true right of this slip provides the best footing. Once at the river, follow bedrock benches to the water’s edge.
The water here is steeper and continuous, with some objective danger.
If beginning the run here, eddy out to scout the top rapid from either the true left or true right banks and note the tight exit between large boulders at the tail end. At the time of writing, there is a very large undercut on the rock on the true left at the end of the rapid.
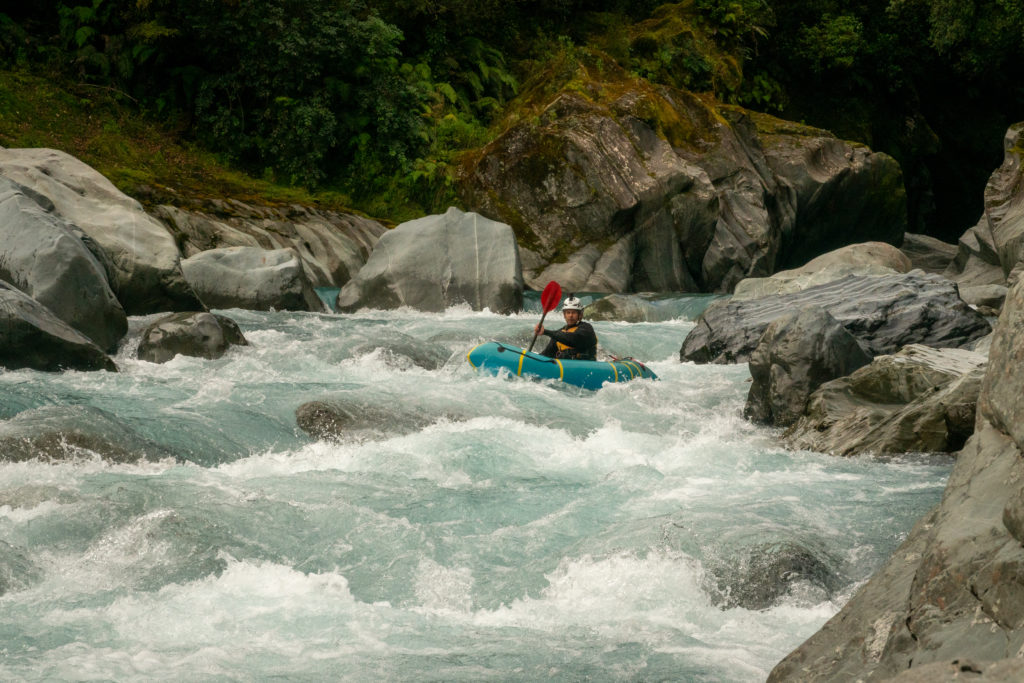
Consider options and set safety accordingly. If in doubt, portage on the right and put in at the large pool at the bottom by the starter gorge.
Further upstream
This is a hard-shell grade V heli-kayaking run: read about it in the Whitewater NZ River Guide.






Paddled this section from below the III+/IV- rapid, described above, on a sunny West Coast day. Flow was on the lower end of what I’d say is paddlable but still fine if you are good at navigating through the many boulders poking out. We had intended to paddle the Styx, but flows looked far too low from the Styx bridge so decided to walk up the Kokatahi instead.
Walk was approx. 1.5h to the starter gorge beach. We scrambled up and above that first gorge and put in on the other side, as described above. Well worth ditching your packs and do the short walk to the bridge to have a look into the stunning Whakarira Gorge.
Comparing photos to those from Shane below the short starter gorge, the water level was maybe ~200mm less than that. Ideally, you’d want a bit more than what we did it in to cover over a few more rocks in the many boulder gardens that you find all the way down the river. Maybe if the Styx stage was at ~1m and the Hoki @ Gorge around 40-50m3?? Hard to tell, but it was still a great half-day trip at the lower flows we did it in.
Would rate this as mostly a fairly continuous II+ with a handful III- rapids / boulder gardens along the way. Mostly read and run, but we did scope a few of the III- rapids as there were a few rocks poking out due to the lower flows. The III+/IV- did not look runnable and would probably need a bit more flow. Also, the undercut on the TL at the exit was clearly visible and running the rapid more on the TR and through the gap between the two boulders and away from the TL bank would probably be a better choice.